Pevely Farms Golf Club
Ratings & Reviews
See what our customers say about us…
Arthur Hills
designed course.
Book your tee time!
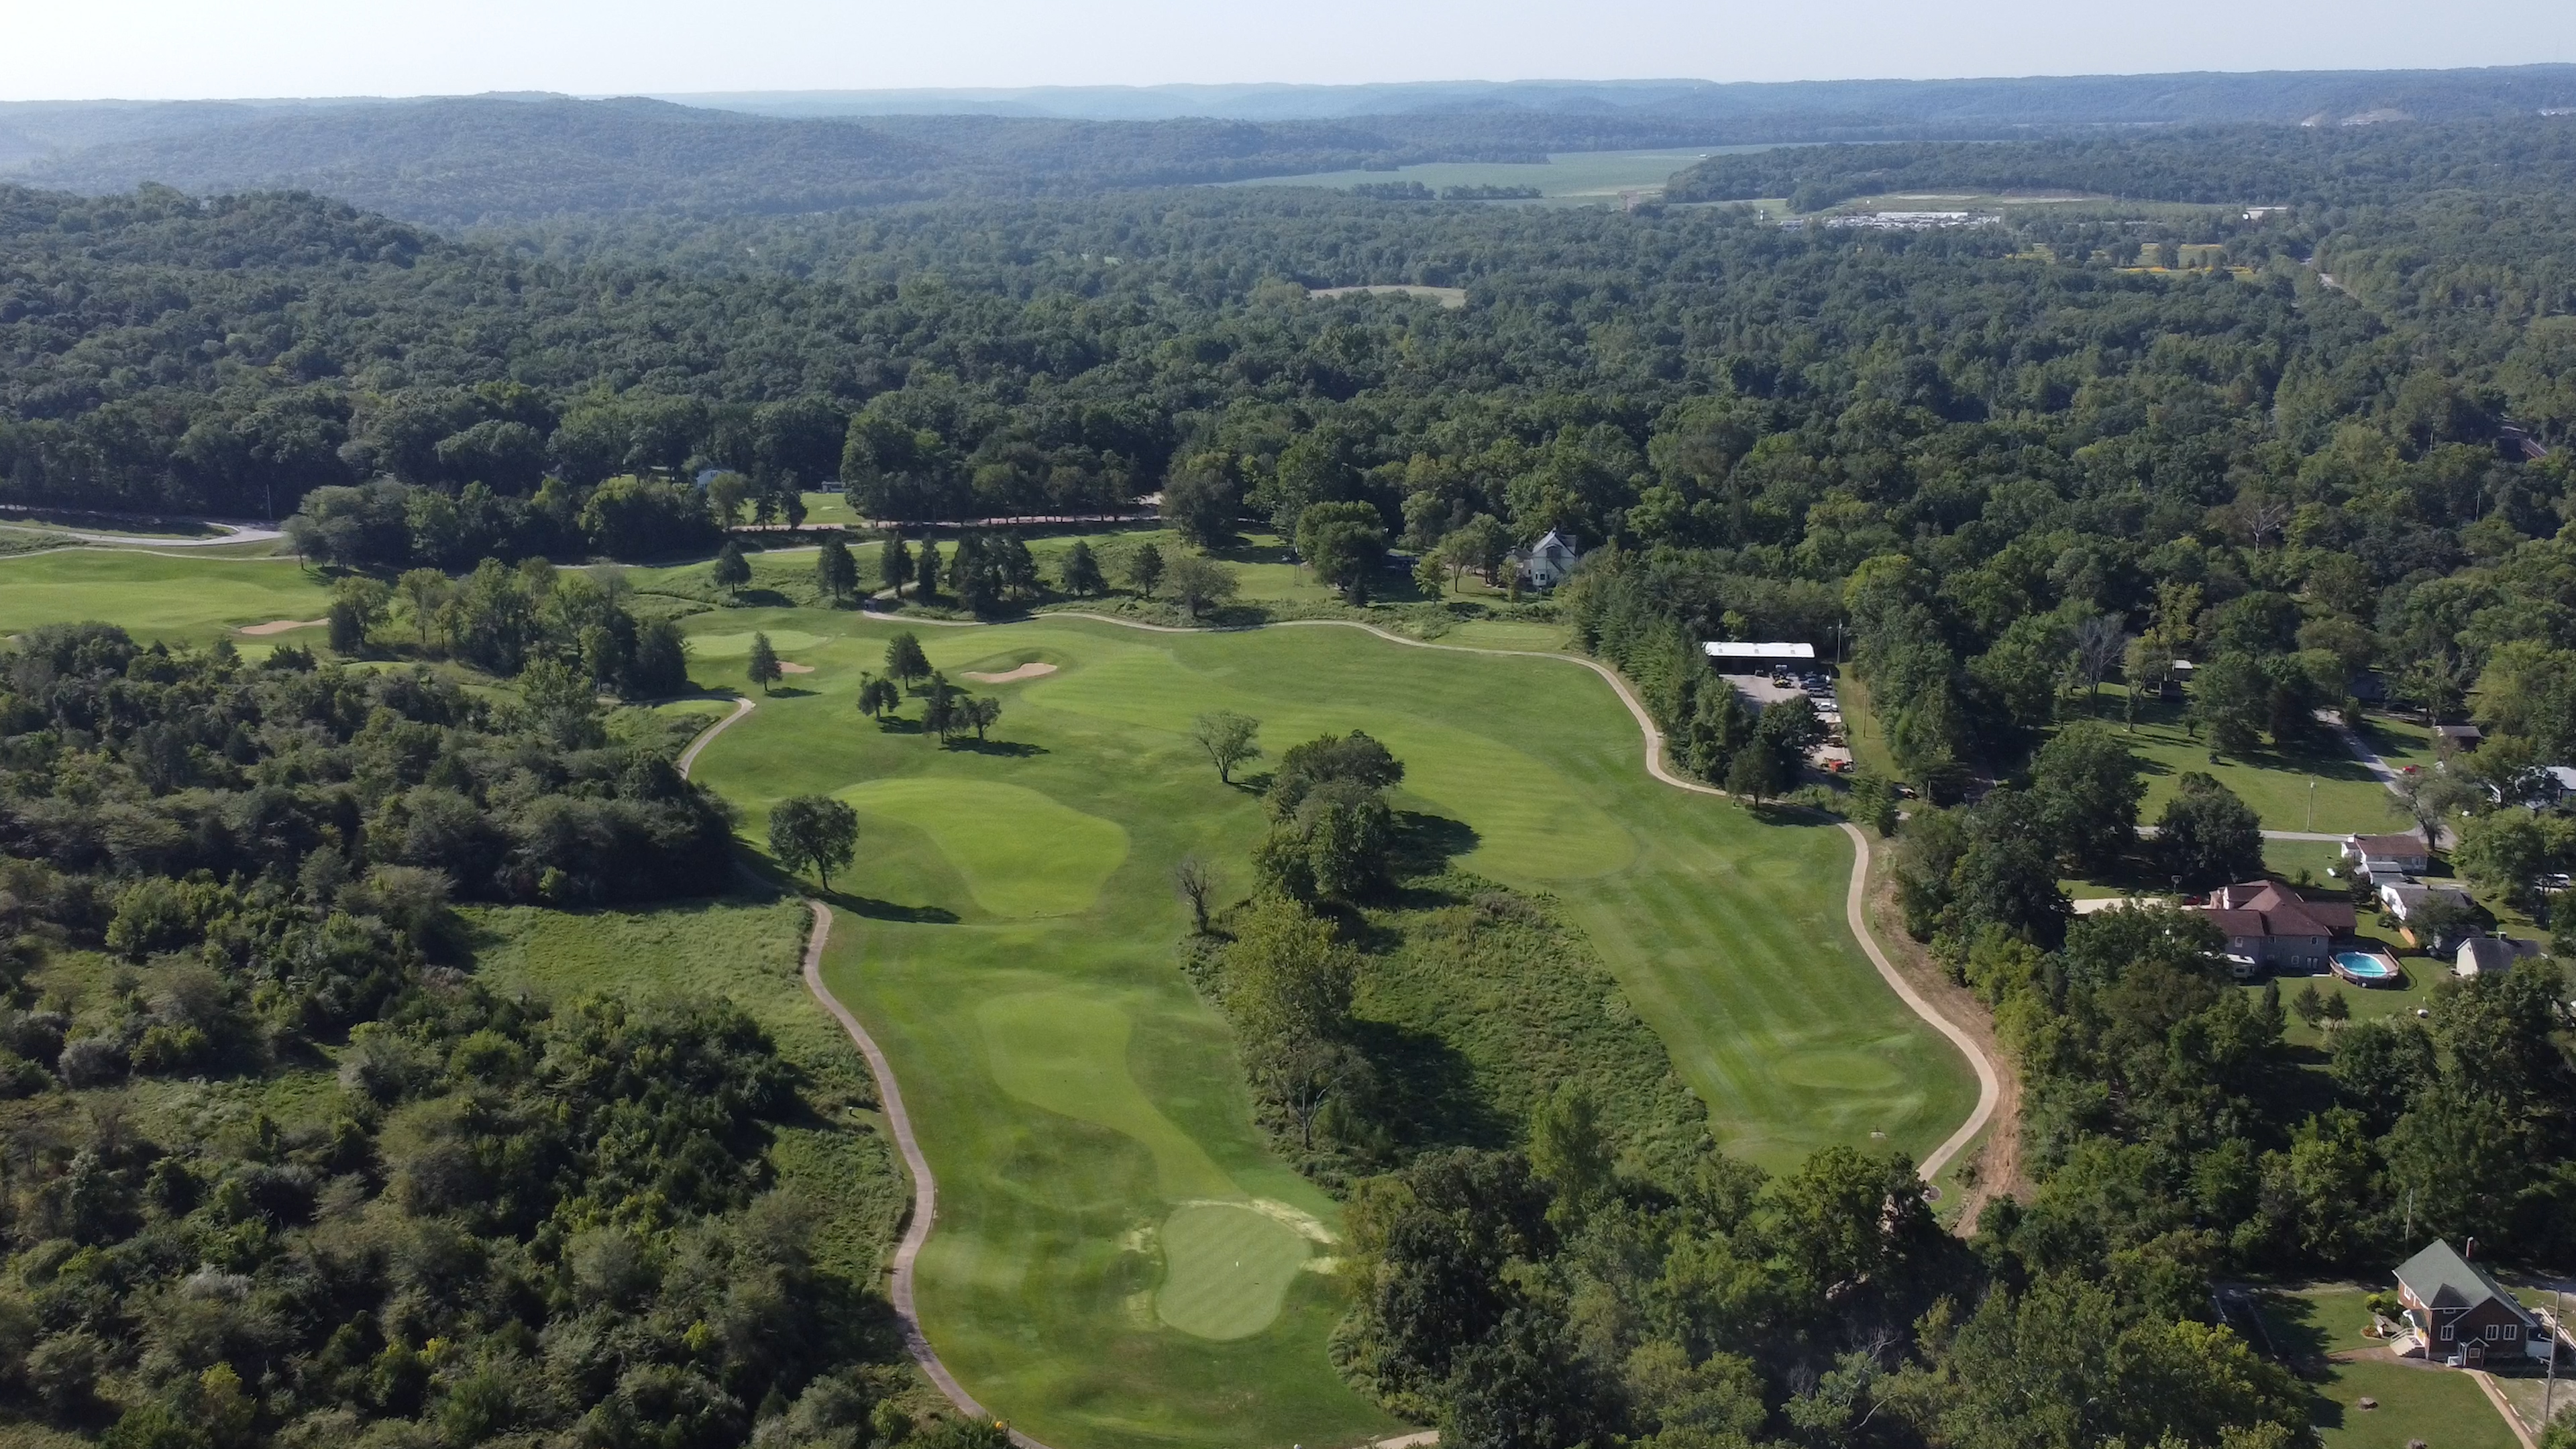
Experience the Natural Beauty of the Meramec River Valley
Pevely Farms, a once-thriving dairy show farm, has been transformed into a world-class golf experience by one of the greatest names in golf course architecture, Arthur Hills. He has delicately sculpted this 18-hole championship golf course into the natural beauty of the Meramec River Valley. For any golfer visiting St. Louis, this is a must-play.
The layout, playing at over 7,100 yards from the championship tees, features manicured zoysia fairways and bent grass greens. Hills’ layout will appeal to golfers of all skill levels and will provide an excellent challenge for the scratch golfer as well as pleasure and fun for the occasional player. While many courses have one scenic hole or two, Pevely Farms has one postcard-worthy view after another. From the many changes in elevation, to the forced carries over water, to the breathtaking views of the Meramec River Valley, every detail of our course stands in harmony with its surroundings.
Playing Pevely Farms is the ultimate experience in Missouri golf. Clear a spot for Pevely Farms on your list of must-play courses, an experience long remembered. An experience like no other!
Contact Pevely Farms Golf Course

For more information about Pevely Farms, please call (636) 938-7000, email
golf@pevelyfarms.com, or use the form provide here.
SPECIAL EVENTS: Are you planning a company outing or golf event? Are you planning a wedding, anniversary party, or special event? Contact us to host your special day at Pevely Farms.

